Friday 20 December 2019

Christmas Makes

Hi Crafty Friends

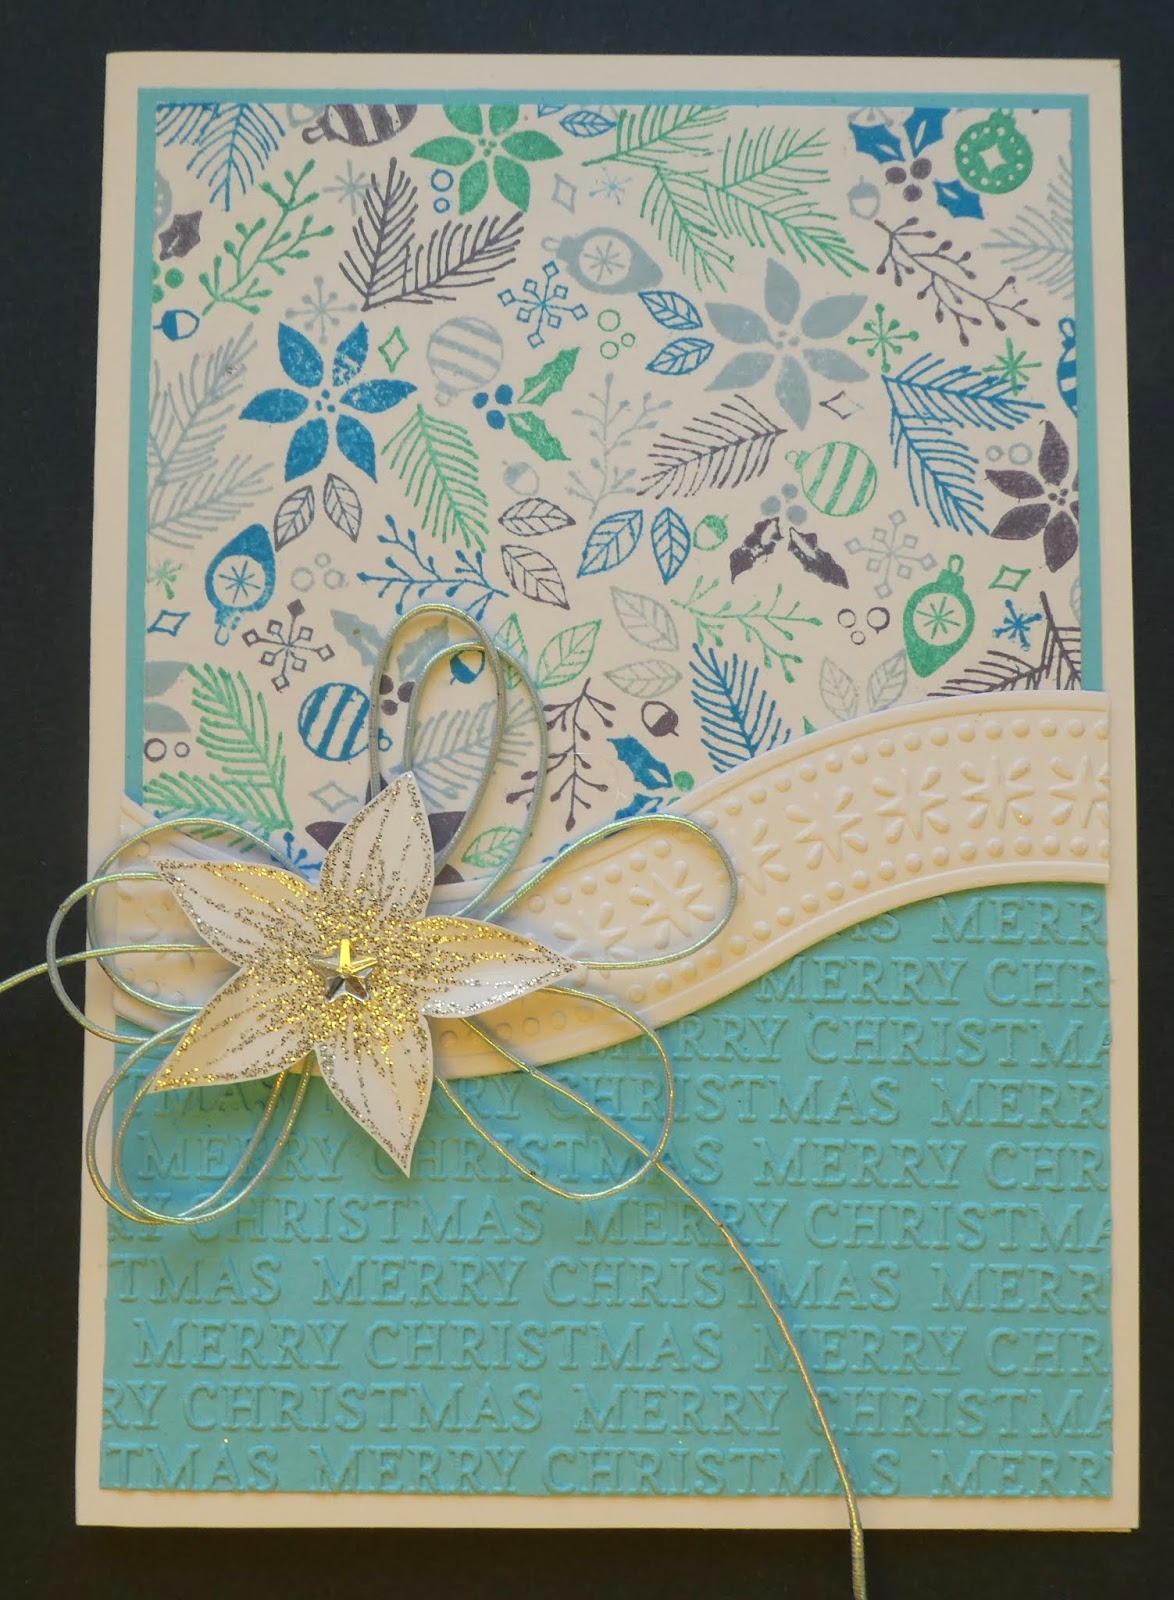
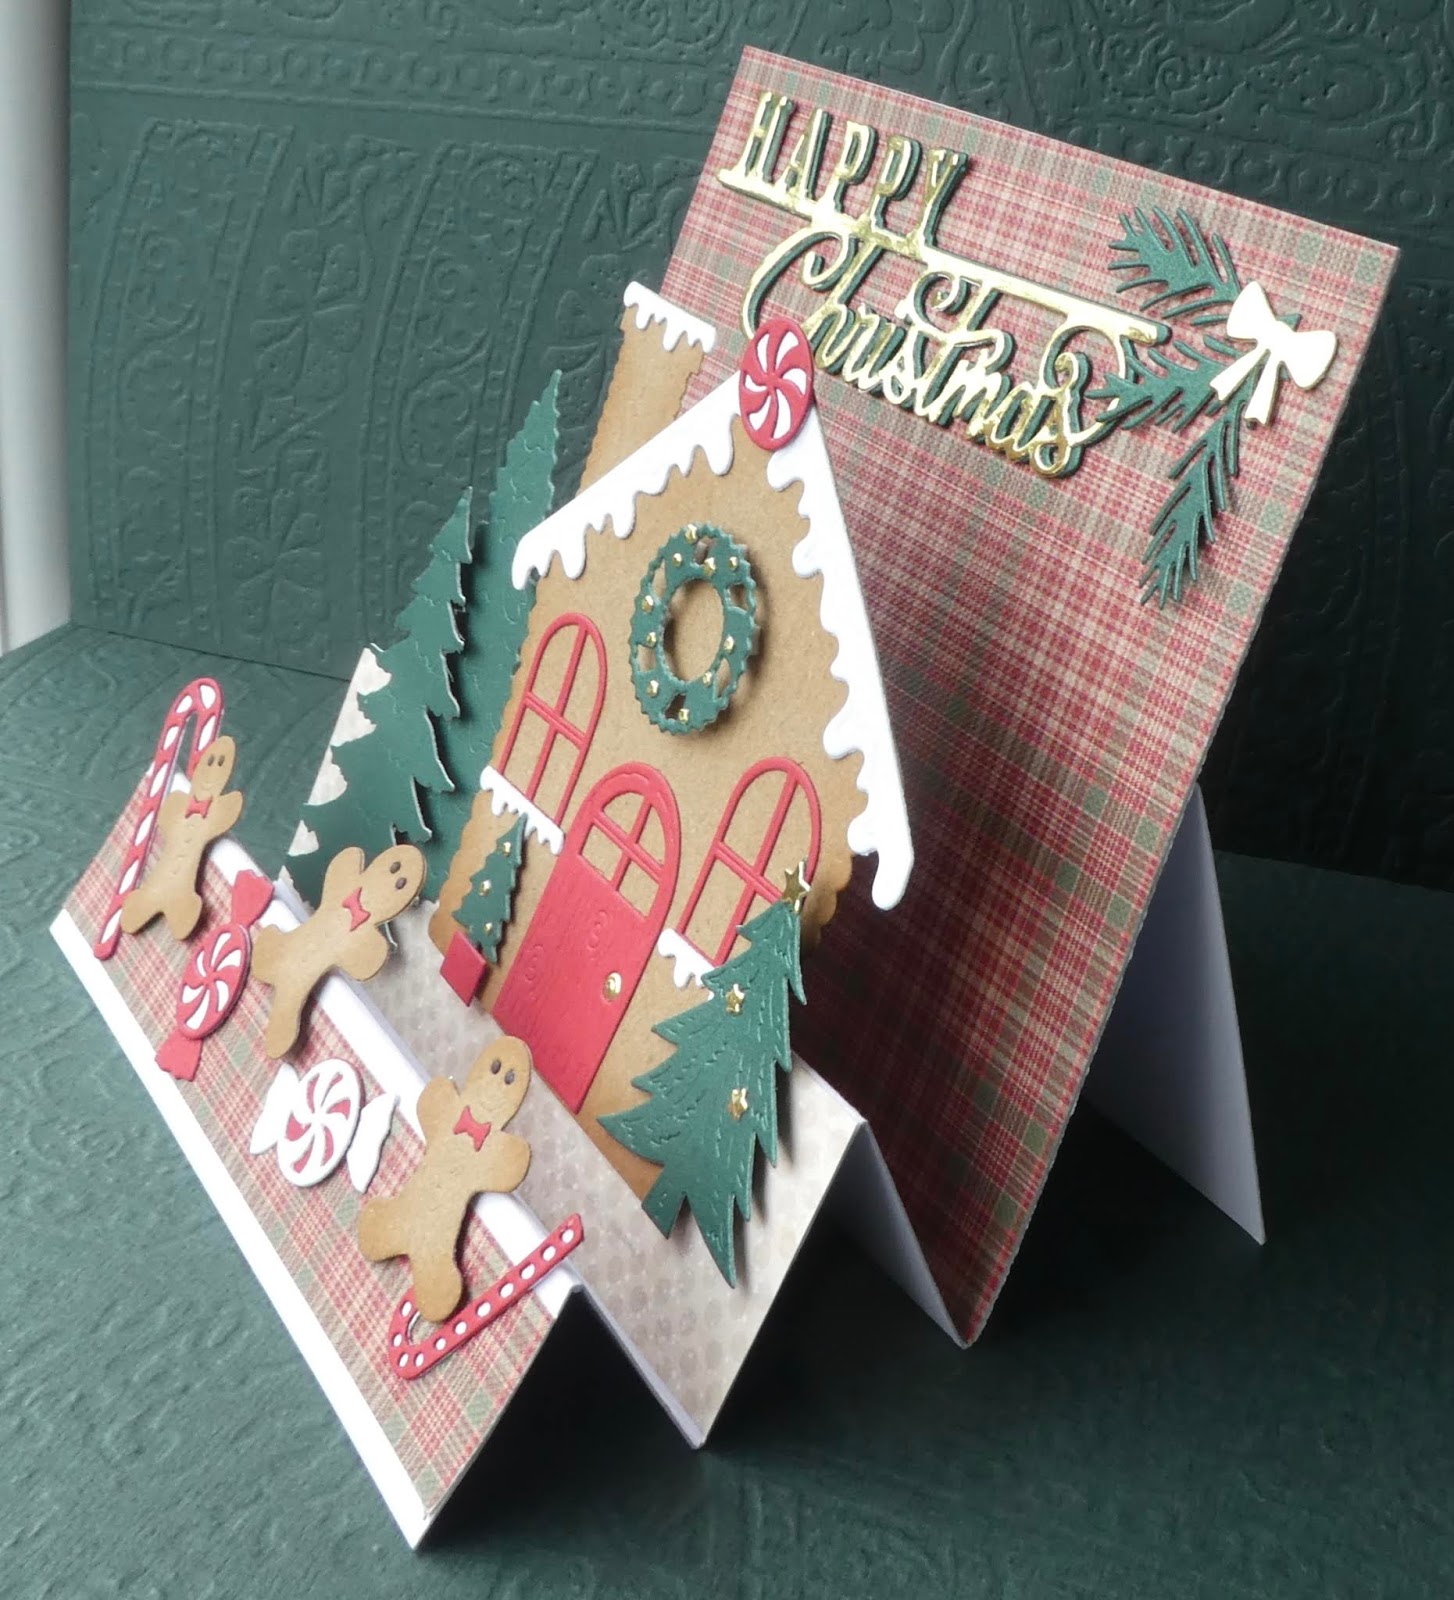
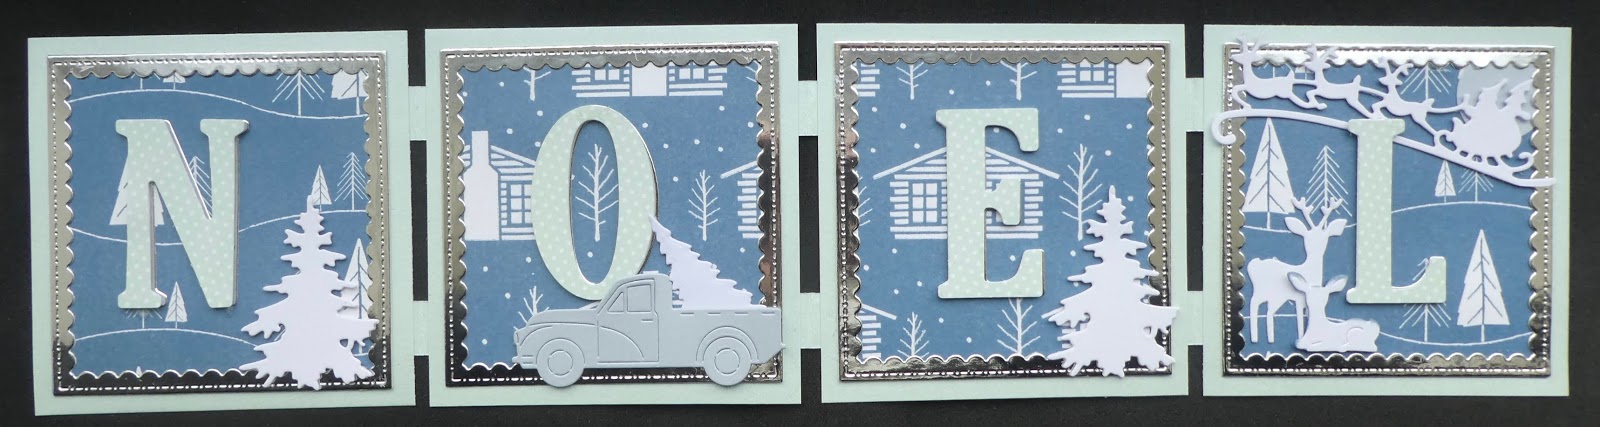
Here are two weeks' makes in one blog.

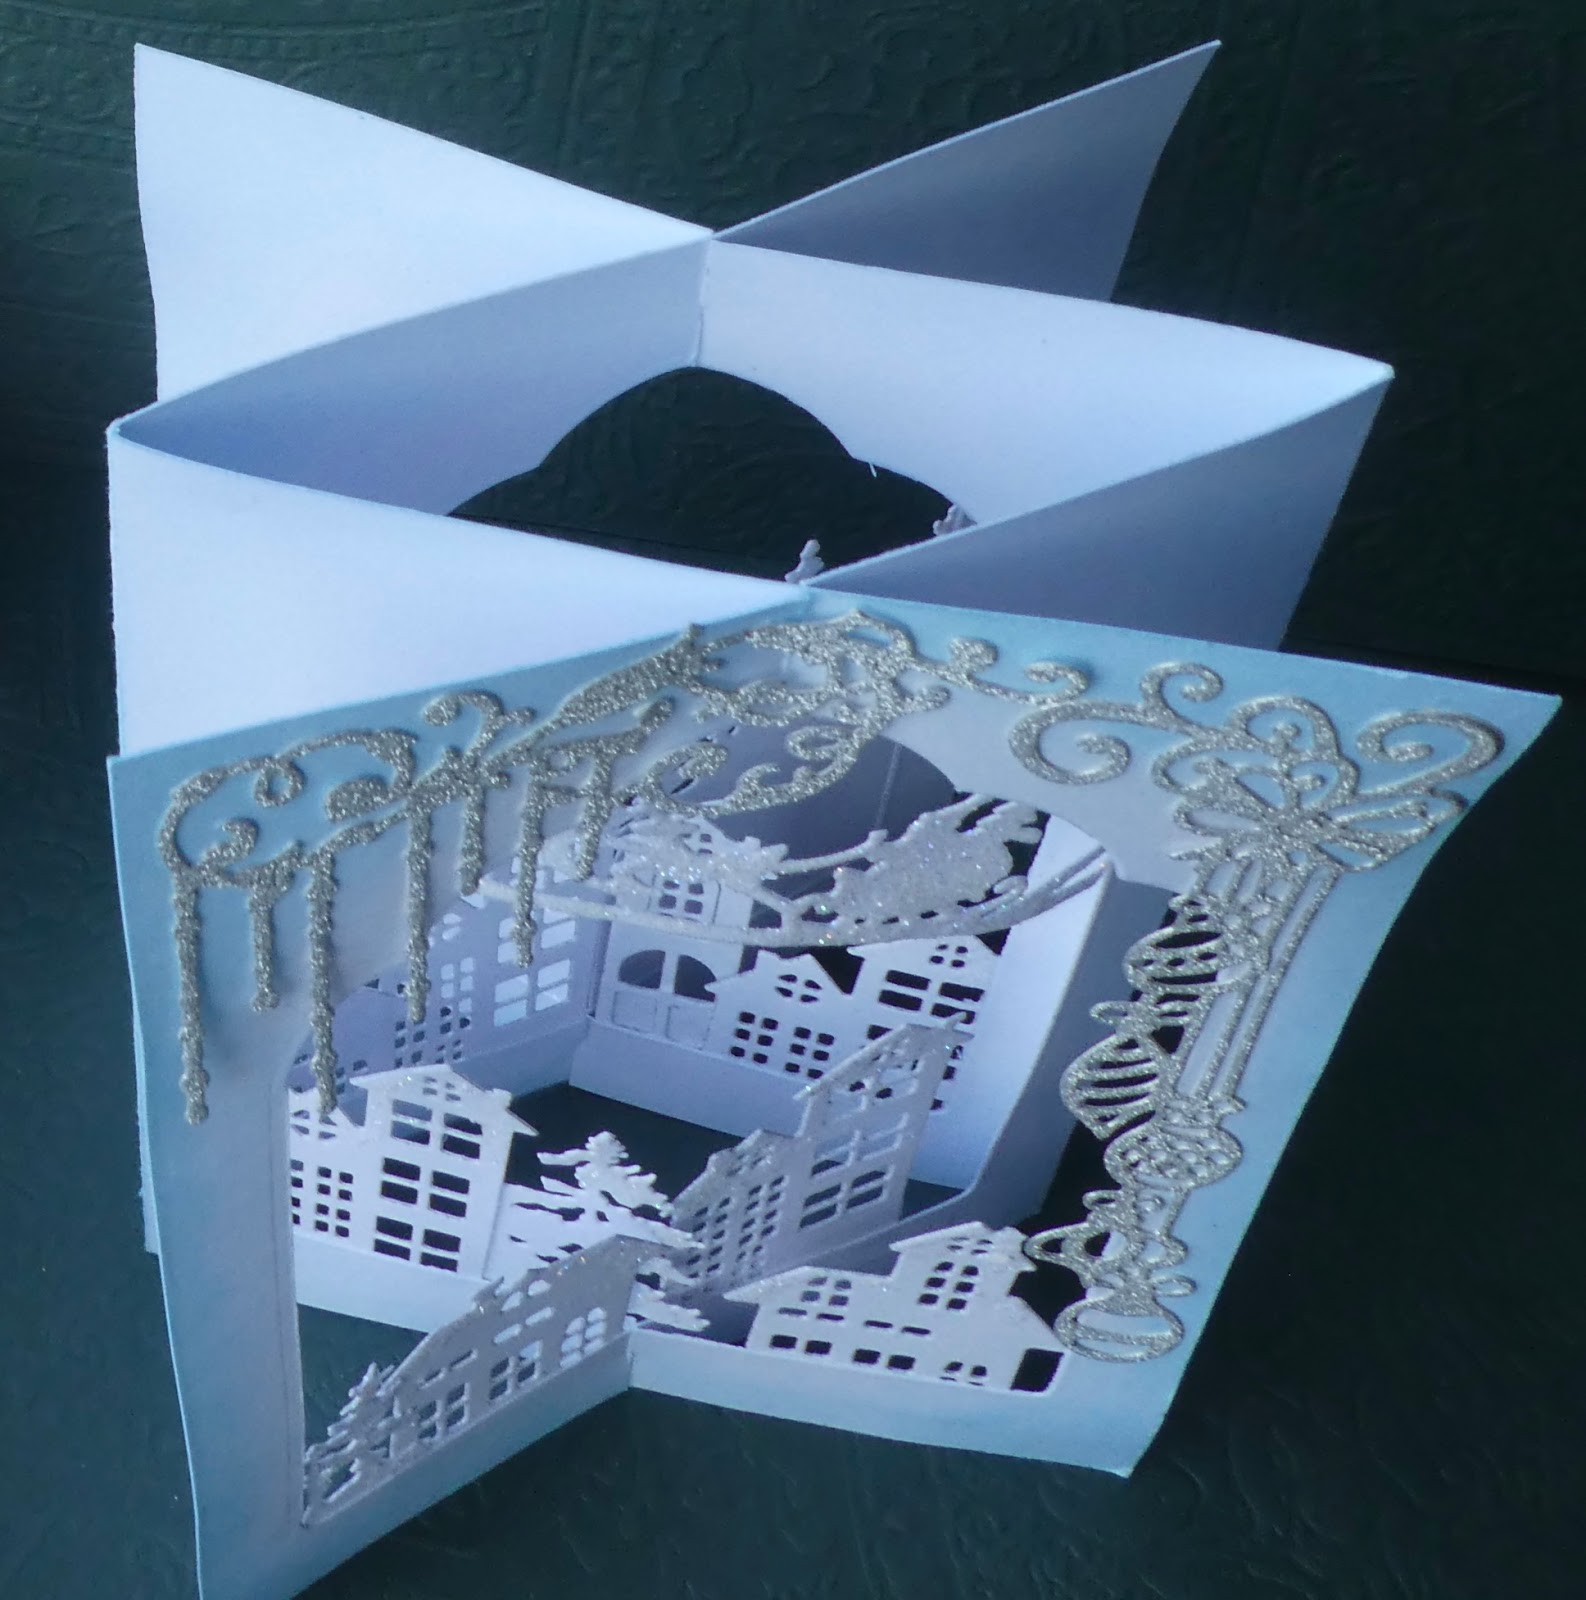
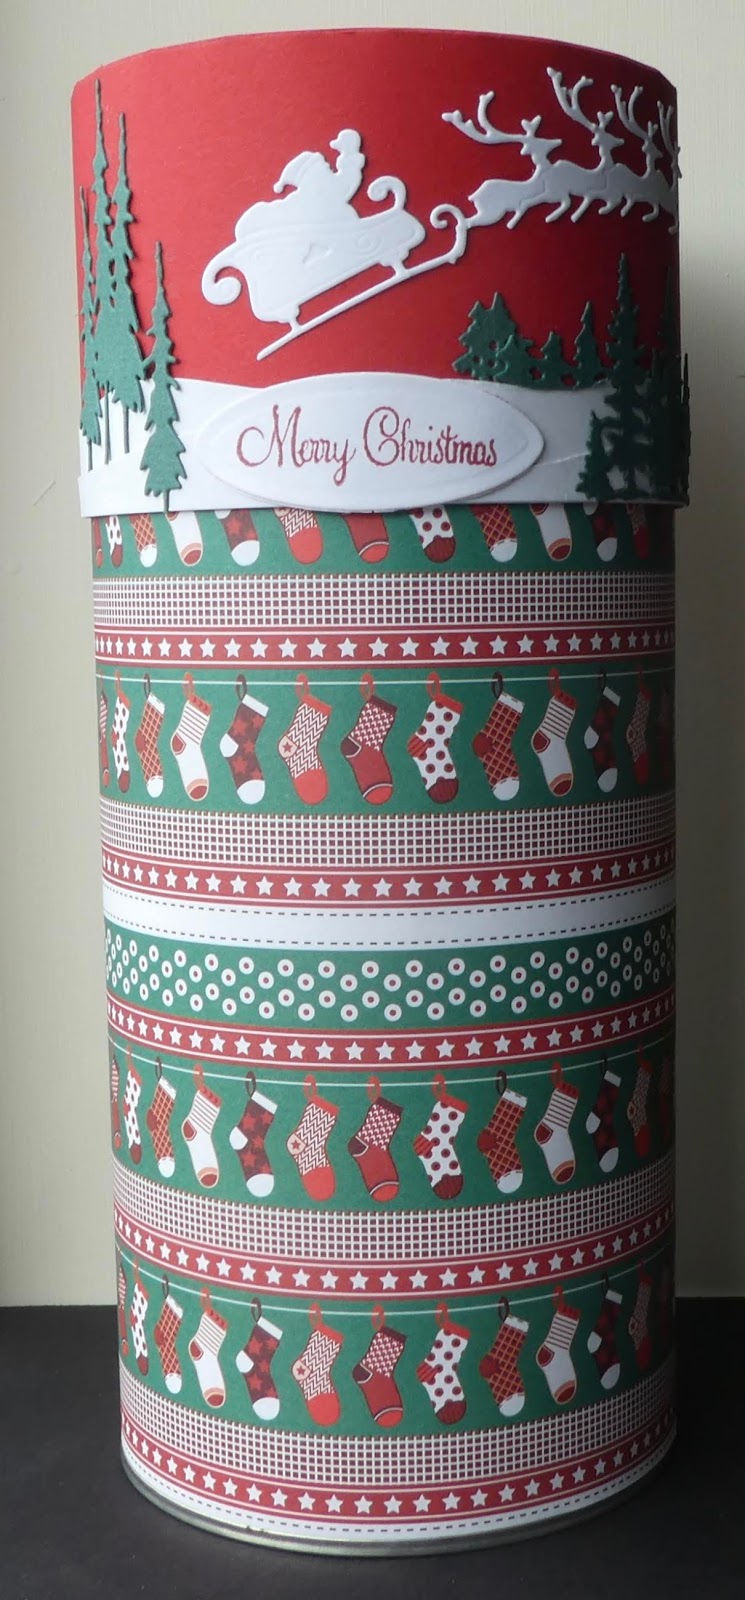
This one can be a card as it folds up flat but I'm keeping mine as a Christmas decoration. It took me ages (and about half a ream of copy paper) to work out the shape for the base. It would have been so much easier with a protractor or even a compass, but hey ho, it's done for ever now. I photocopied the template for everyone so it just needed cutting out and a bit of embossed and die cut adornment. It uses the same closure as the pyramid card we did a few weeks ago.


By our last week before Christmas I thought everyone would have finished their cards so we did a cracker shaped gift box. Having made my sample I thought it was a marathon of die cutting for one gift box, but then it suddenly struck me that with very little extra effort (ie. die cutting some hexagons) it could be cut up and made into 2 boxes. So these were the options.


I did consider making decorations for the top, but then I thought we needed time for the all important Christmas party. 
Thanks to everyone for bringing all the scrumptious food.
And thanks for another fun year of crafting
Have a cracking Christmas!
jan xx

Thursday 5 December 2019

Stamped Duo

Hi Crafty Friends

Last week's stamping was a lot of fun, so we carried on with more stamping this week. At this time, flat post-able cards are what we need!

We did two cards. The first was really quick, just two stamps, and a sentiment - no masking, no nothing really. The image and the background are both by Inkylicious. We stamped the scene first and then stamped the background several times in various colours, trying to keep the ink out of the centre. Some people have added glitter to theirs which makes it pop more.


I got the idea for this one off a blog, which sadly I have been unable to find since. A great pity as I would like to have checked back for more ideas. I know the original used some lovely patterned paper, but I thought we could do our own background. We used a template to line up the 2 papers so the images aligned. I love this majestic stag (I think he was free with a magazine). We coloured over the stamping with pencils. Another pretty quick card.


I also took along the kit from last week and some people caught up with the bits they had missed out on, so everyone was very busy - the Christmas card pile mounts!

happy crafting
jx


Saturday 30 November 2019

Stamping triathlon

Hi Crafty Friends
This week we experimented with different stamping techniques.
This was inspired by a card I saw on Pinterest and involved masking.


This one used a turnabout stamp

I loved all the different colour combinations people used.

This one required a wreath builder template, which was quite straightforward to construct, and a lot of fun to use. It was great to see all the variations people came up with.
  

Wednesday 20 November 2019

Sparkly Octagon

Hi Crafty Friends

This week we went large (7x7), and did bling! I got these fabulous octagon dies so we just had to make an octagonal card. Making the octagonal base was really quite easy and then it was just a bit of die cutting, heat embossing and hand cutting. Easy peasy 😀


It's a lot more sparkly in real life than it looks here. The background stamping is embossed with metallic silver and painted with Spectrum Noir sparkle pen. The flowers and sentiment are embossed in Wow/Stamping with Chloe  very sparkly embossing powder (Icicle). The extremely glittery leaves are off a spray intended for dried flower arrangements. I had great fun making this card and I think everyone else enjoyed it too.
happy  crafting
Jx

Wednesday 13 November 2019

Gingerbread House

Hi Crafty Friends

After last week's complex fold, I thought we could probably do with an easy week of 'lick and stick'. But, being me, it turned into a marathon die cutting week. Once all the little bits were cut out, it was a simple business to make the card.
I love these little gingerbread men and their house - it's as close as I get to doing cute.


It's an easy fold, and very versatile.


Happy crafting
jx

Wednesday 6 November 2019

Cascade Aperture Christmas Card

Hi Crafty Friends

I was so excited to do this card. I saw a steam punk card years ago with this fold, and have wanted to do it for the longest of times, but have only just discovered how to do it. I saw a You Tube tutorial, but I'm afraid I can't remember whose. This is my take on it. I just love all the dimension.


Here you can see the construction. I've no idea what this fold is called, so I'm calling it a cascade aperture.


It was so great to see all the different versions people made. (Now I'll have to go back and add picket fences and lamp posts to mine 😀)
It's very glittery IRL, but it doesn't show up in the pic.
Happy Crafting
jx

Thursday 31 October 2019

Christmas Candles

Hi Crafty Friends

Of late, I seem to be obsessed with ovals! Last week it was an oval Santa stamp and an oval bag handle. This week I got to use a new(ish) filigree oval die, with a golden oldie candle die (Memory Box, I think). I used 2 embossing folders; I particularly like the one used on the aqua oval. It's an oldie which came with a magazine.
It's a very quick card to  make. Everyone finished early, so we had plenty of time to enjoy June's delicious 'not-so-sweet' Rocky Road 😋 on Tuesday, and Sue's M&S scrumptious biscuits on Wednesday. There was also time to cut extra die cuts/embossed panels from all the scraps. I'm looking forward to seeing what becomes of them.


happy crafting
jx

Monday 28 October 2019

Santa Card and Gift Bag

Hi Crafty Friends

This week I was aiming for a simple classy design, and I really wanted to use my new Creative Expressions Santa stamp (a great bargain from a craft show). It's a great image and stamps beautifully. Another bonus, it just fits my Nellie's Multi-frame ovals die set. 🙂


 We just did a little bit of layering and embossing for dimension. We glittered the image and recessed it into the oval aperture, although in the pic it looks like it's matted onto various layers. It was quick to do so after a speedy cuppa we cracked on with a gift bag, which Margaret had been requesting for some time.


I'd had the idea of using a die which is intended to make a flip flap card, to make the handle of a bag. The bag part is basically a piece of A4 scored and folded. Everyone chose their own stamps and colours. I was pleased with how the bag design worked out. Now I need to make some more, paying closer attention to the stamping. This is just a quick make to demonstrate the idea.

happy crafting
jx

Monday 21 October 2019

Paper Pieced Robin

Hi Crafty Friends

I've been looking forward to using this lovely robin stamp from Woodware. We just paper pieced him with some First Edition papers (Perfect Christmas) with the addition of some brown pattern from who-knows-where. Then all it needed was a bit of layering to make a simple background and the addition of some ribbon (from Boyes)


Happy crafting
Jx

Thursday 10 October 2019

Four Squares Card - Christmas

Hi Crafty Friends

This week we returned to the 4 squares design we've done before, but this time with a Christmas theme.  I was looking forward to using this paper as I'd known from first sight I wanted to do one of these cards with it. MY first disappointment was that there was not enough for everyone to have 4 squares the same, so I had to add the paper with houses on. Then I discovered this blue looked terrible with navy so my colour scheme went out the window. It took ages to find an alternative (I'm not too good at this). But hurray hurrah, people loved the houses - and the aqua/blue colour scheme. There's a reason why this blog is called Serendipity 😀


I'm happy to know several of us have been making more of these at home.
Happy serendipitous crafting
Jxx

Saturday 5 October 2019

New from Old (and vice versa)

Hi Crafty Friends

This week we tackled the annual up cycling gift box project, only thanks to Margaret's porridge loving family we had a supply of Flahaven's Porridge tubes. These are much fatter than our usual Pringle tubes. Luckily, I had some extra large sheets of patterned card from Lidl's which just fit.
Because the patterns were all quite busy, I kept the decoration simple round the lid.


That was the new from old; here's the old from new


I went to a Powertex class at Purple Meadows (newish local craft shop) and had a really fun time making this old rock.

Rock on
jx

Wednesday 25 September 2019

Two cards with 'classy and fabulous' women.

Hi Crafty Friends
It was a busy week this week - we made two cards!
I love the die of the woman and it's one where you can use the positive and negative space, so it just had to be two cards.

This one uses the negative space, so it did involve not losing some pretty small pieces so they could be slotted backing the die-cut once it was mounted on black card. I went for a separate frame with a cream pearlescent backing raised up on pads, but most people put the frame straight on the image panel which looked great.
One thing about this die is that it doesn't cut out the rose; it just leaves an embossed shape which is not too attractive, (or, worse, a large hole in the negative space). We covered all this up with a die cut flower - luckily I found some dies to fit.


After the art deco style of the first, I decided on a softer look and got to use my new favourite paper pad, Sweet Paris by Trimcraft.
This uses the positive die-cut which we just mounted on kraft card. There's quite a lot of die cutting and the roses had to be inked, so a bit more work.

Happy crafting
jx


Wednesday 18 September 2019

Christmas Pyramid Card

Hi Crafty Friends

I always like to do a pyramid card for Christmas (and at the drop of a hat at any other time of the year!), so this week we did a Christmas version.
I love these red and grey papers, and I was pleased how it came out. It was a popular choice and I think quite a few people are going to be making more at home. Can't wait to see what they do.

Here it is showing the three sides. I was delighted to find the sentiment die exactly fit across the card, even though putting the white letters into the red outline was fiddly - and those microscopic dots in the middles of the 'a' and the 'e'!!!
I used Spectrum Noir Sparkle pen on the reindeer. It gives it a subtly shimmery effect in real life, but too subtle for my feeble photographic skills, I'm afraid.


The button keeps the card closed. But as this may not be obvious to the first time receiver of one of these cards, I did make a little slip to show how it works, which can be tucked in with the card. I've emailed it to everyone, but have no idea if it's any good as my printer isn't speaking to my computer.


Love these spindly trees.


Here's my how-to-display-the-card guide. You wouldn't believe it took three hours to achieve it - finishing at three in the morning!


Best news of the week: on Tuesday, June brought cake, YAY!! 😋
Happy crafting
jxx

Thursday 12 September 2019

Santa in Black and White

Hi Crafty Friends

This week we did two quick and easy Christmas cards. I'd made one similar to the white one years ago, but not shared making it (though you may remember it on an old blog post). They both just involve die cutting and dry embossing so they came together very quickly.


This is a lovely art deco frame, a Tim Holtz skyline and a Britannia Santa. I can't remember the make of the sentiment. It's just part of a larger die which I've had years. We lightly embossed the silver card to knock the blinding out of bling, and job done.

This one features embossed vellum over blue card. I love the look of embossed vellum, but don't often think of doing it. The square dies are unbranded and I can't remember who made the trees (had them ages)


And here's a card I made for a friend. I love these cheerful papers so it was good to use them again.

It's a DL tri-fold card which opens out in landscape format, which is a style I'm very fond of. here it is closed.


This is it with the first flap open.

And this is it with both flaps open.


Happy crafting
Jx

Wednesday 4 September 2019

Easy Easel & New Home card

Hi Crafty Friends

This week I thought we'd have a go at an easel card. The main reason I don't normally do them is that often recipients don't know how to make them stand up. However, I found a printable sheet on Pinterest with instructions. So with that problem solved, we just had to make the card.
There's quite a lot of die cutting, and stamping, and colouring come to that, so it was quite full on. Still everyone was pleased with their card, and I have to say the colouring was brilliant (loads better than mine). We used Distress Inks (Dried Marigold and Worn Lipstick, with Mustard Seed in the centre and mowed Lawn on the leaves.)


This week has been quite stressful so I kept myself busy with a colouring marathon, making this new home card for my nephew. As he's moving into a flat in a big city, the usual cottages/houses/bird's nests didn't seem appropriate. Luckily I had this large background stamp I wanted to try out. I stamped it 3 times and decoupaged it. The stamp didn't stamp well (possibly because it was its first outing) and I couldn't get a good impression on watercolour paper, so I had to make do with heavy card stock. I painted it with water colours, then layered it up with thick foam pads. It looks a lot more dimensional in real life than it does here. I added a glittery balloon coming out of one of the flats. Then I had the tricky job of putting the frame on, to hide all the pads. The frame is on double thickness black foam tape so it looks neat viewed from the side.


As you may know (and as you can see here) I'm not great at colouring in, but it was quite absorbing to do. It's in the post as I type. Hope he likes it.

keep crafting
Jx


Thursday 29 August 2019

Snowman card

Hi Crafty Friends

How lovely to have glorious sunny weather on a bank holiday! But a bit less lovely for those trying to craft in a boiling conservatory. On Tuesday, for the first time, we had to cancel because of the weather. Luckily it was more bearable on Wednesday and so we cracked on with Christmas.

Thinking we wouldn't want to move around much or do any strenuous die cutting, I went for a mainly stamped card. The image is two different stamps, so a bit of masking was needed, but apart from that it was very straightforward.


stay cool
happy crafting
jx

Wednesday 21 August 2019

Z Fold Man's Card

Hi Crafty Friends

When I made this week's card, I was assuming it would be for a man, but a friend of mine asked for one, for a woman, so here is this week's unisex card 😀


I'm quite fond of a Z fold every now and then, and DLs are a big favourite of mine too. This one uses some lovely paper from The Works. The diecuts on the front are a die from China. We cut two, cut them about and rearranged the bits to fill the space. The border punch (an old Martha Stewart) behaved itself so fancy edges were achieved without drama.


We were a bit light on numbers on Wednesday, which meant I got to do some crafting too, and the weather was kind so we weren't boiled. Happy days!

Chin chin!
Jx

Friday 16 August 2019

Santa Steppers

Hi Crafty Friends

I'm still not totally into Christmas makes, but I'm mindful people have a lot of Christmas cards to do and want to get on with them. So this week we made a Christmas stepper card. It's one of my favourite folds and this is a new version with different proportions from my previous ones. I wanted it to fit my stash of envelopes and feature my fancy frames, so this is what I came up with.

 Sorry, I'm a rubbish photographer - you can't see the glitter on the leaves (and the gem on the bow appears to have dropped off). Hey ho.


I was ridiculously pleased with myself for working out an easier way of cutting the matting layers, so I may crack on and make a few more Christmas cards after all 😀

happy crafting
jx

Wednesday 7 August 2019

Distress Oxide backgrounds

Hi Crafty Friends

This week we got messy! I've recently bought some Oxides (yup, given in!) and despite knowing nothing about them, I thought we'd give them a go. I made 4 samples and then got carried away and made a lot more backgrounds, or at least started them.
We splodged and splooshed quite happily for a bit, then added more texture and grunginess with stamps. The focal images were stamped on, and the flower heads stamped on old book pages and paper pieced on top. I stamped the sentiment on a blank bit of book page, cut the words apart and outlined them with a fine liner pen.

Here are my sample cards. The flower stems on the first two cards are from one of the first sets I ever bought  (Woodware, I think) but I've put different flowers on them. The fantasy stems? leaves? were very popular, and I must say I love them. I think they are a Dimension Fourth stamp, (now sadly defunct, I believe)


The stamps on this next example are my latest pride and joy: they're Chaos by Visible Image

Here's my fourth sample, not made into a card, and some of the other backgrounds waiting to be stamped.


On Wednesday, I had a lot of fun mopping up people's unwanted ink left on their messy mats. Random colours and random amounts of water, but they still turned out fine, probably better than my more intentional ones. Here's just three of them. I'm looking forward to adding texture and making cards with them. it was good to get some crafting done myself 😊


Thanks to Jackie for making the messy mats.
happy crafting
jx

Saturday 3 August 2019

Vintage Car Card

Hi Crafty Friends

It looks like my secret doing-the-rain-dance worked and we had more bearable temperatures here at Serendipity Towers this week.
It was just as well because there was quite a lot to do on this card, but the only fiddly bit was sticking the metallic highlights back into the die cut car. I haven't used brads on a card in ages, but I love these and may have to drag them out more often.

So, we were kept busy, but there was time for cake, courtesy of Joan who brought a delicious fruit loaf, slurp!
Cake and crafting, what an excellent combination!
Jan x

Tuesday 30 July 2019

Starry congratulations card

Hi Crafty Friends

Slightly out of order, but here is the card we made a couple of weeks ago, I've managed to get some pics of it.

As you can see, it's a Z fold, which fits a DL envelope. I love these papers, such a fresh colour combination


After we'd made the basic shape, everyone decorated their cards differently. Here are two of the brilliant makes.


Thanks to those who sent me pictures - I love to see the different ideas.
happy crafting
jx